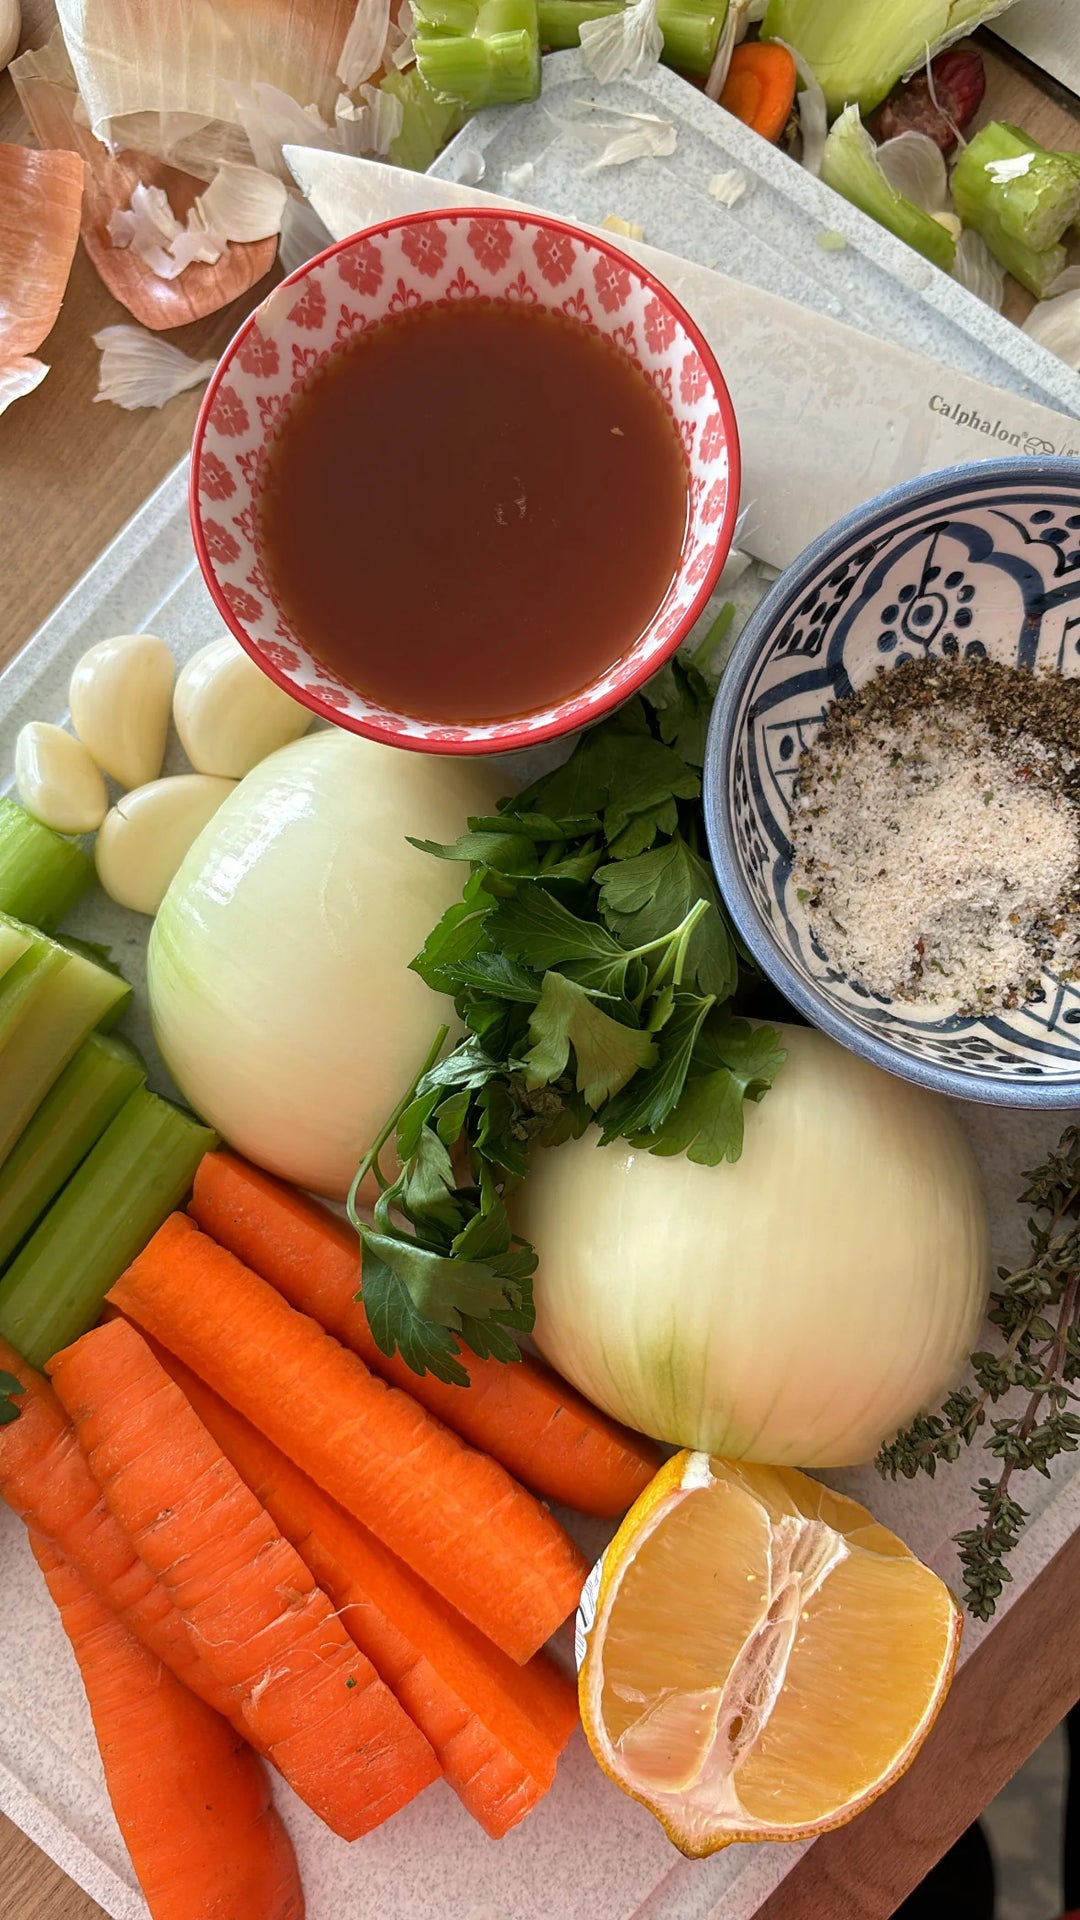
Homemade Bone Broth with Pastured Chicken Stock Bones by Larson Folkerts
This is a featured recipe from Larson Folkerts, one of our ambassadors using our Pastured Chicken Stock bones, enjoy!
Servings: 6+
Prep Time: 15 minutes
Cook Time: 12+ minutes
Something that I have made myself for years now is bone broth! The benefits of bone broth are numerous: a great source of protein and collagen, helps you digestive system, supports gut health, loaded with micronutrients and so much more. While there are great store-bought options, it's very simple to make it yourself and I think you can really taste a difference!
What I'm sharing is simply how I make it! There are many ways to make bone broth, many variations of ingredients and types of bones you can use, and I'm sure my recipe is not the most "serious" or high-level, but it works for me! It's also very approximate and easy to adjust. You can do this a pot, such as a dutch oven, or the crockpot!
I always use chicken bones to make my stock, I prefer the taste over beef broth (even though I prefer beef over chicken!), but any bones will work. What I used to do is buy a rotisserie chicken, pull the meat off to use for dinner recipes and then use the entire carcass for bone broth.
I haven't been buying as many rotisserie chickens lately so now I'm buying chicken stock bones from Shirttail Creek Farm! Shirttail Creek Farm is located in Brenham, Texas with storefronts in Austin and they're a family-owned farm, raising grass-fed, pasture-raised meats. They ship anywhere!
I keep the stock bones in my freezer so I have them on hand for whenever I feel like making broth. If I happen to have some carrots, celery, onion, garlic and herbs from other recipes I cook, instead of letting them go bad or throwing them out, I make broth (or chop up into mirepoix for my freezer)!
Ingredients
-
1 chicken back, chicken carcass or stock bones
-
2+ carrots, roughly cut into halves or quarters
-
3+ celery stalks, roughly cut in halves or quarters
-
1 white or yellow onion, cut in half
-
4+ whole garlic cloves, peeled
-
1 lemon, juiced
-
½ cup apple cider vinegar
-
2 tablespoons salt
-
Pepper
-
Fresh herbs: parsley, thyme, rosemary, sage, oregano
-
Any spices of choice (optional) such as turmeric, paprika
-
Water (enough to fill pot)
Directions
- Chop you vegetables, peel your garlic and cut lemon in half!
- In a crockpot or dutch oven, place your chicken bones. Add in the carrots, celery, onion, whole garlic cloves, juice from 1 lemon, apple cider vinegar, salt, pepper, herbs and any spices.
- Fill the pot with water so that everything is covered.
- If using a crockpot, set it to low and cook as long as you possibly can! 12+ hours or more. I use a dutch oven and either let it cook on the stove top or in the oven at 225 or so for as long as I can. See notes about this!
- Once your broth is “done,” the messy part begins. I wish I had some great way to share of getting the broth separated from the ingredients but I don’t. Here’s what I do:I double-bag 2 plastic grocery bags and use a round stainless steel skimmer to scoop everything out as best I can into the plastic bags to throw away. There will still be remnants in the broth, so from there, I use a mesh sieve over glass jars and pour the broth through the strainer into glass jars for storage!
- Drink broth hot! I keep mine refrigerated for a few days until it’s gone or I freeze for another time. The fat will rise to the top but I either scoop it off or reheat it and let it warm!
Recipe Note
For cooking time, I really like my broth to cook as long as possible. Many people leave theirs simmering overnight but I'm not comfortable with that.
Since I cook mine in my dutch oven, right before bed, I either transfer the pot from the hot stove top to an "off" oven or, if I've been cooking it in the oven, I turn the oven off and leave the pot in the oven overnight.
As soon as I wake up in the morning, I turn the oven on or return it to the stove top.
I have no idea if this is up to food safety standards or not, but again, it works for me!

